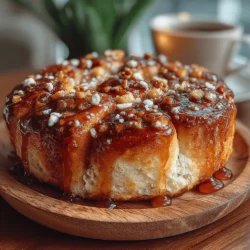
When the air turns crisp and the leaves begin to change, there’s nothing quite like the comforting aroma of baking in the kitchen. Apple Cider Sticky Buns are the perfect embodiment of this seasonal warmth, offering a delightful combination of soft, sweet dough filled with spiced apples and a luscious glaze that adds a touch of indulgence. These sticky buns are not just a treat; they are a celebration of autumn flavors, making them ideal for gatherings, brunches, or even a special breakfast on a chilly morning.
At the heart of this recipe is apple cider, a quintessential fall ingredient that brings a unique depth of flavor to the traditional sticky bun experience. The sweet, tangy notes of apple cider complement the rich caramelization of the filling and glaze, creating a harmonious blend that will have your family and friends coming back for seconds (and thirds!). As you prepare to embark on this baking journey, anticipate the joy that these warm, gooey buns will bring to your table.
Understanding the Ingredients
To create the perfect Apple Cider Sticky Buns, it’s essential to understand the role of each ingredient in the recipe. Each component contributes to the overall flavor, texture, and richness of the finished product. Let’s break down the key ingredients that will make your sticky buns irresistible.
Dough Components
The dough itself is the foundation of any sticky bun, and its components play a critical role in achieving the ideal texture and taste.
– All-Purpose Flour: This versatile ingredient provides the necessary structure for the dough. The protein content in all-purpose flour allows for gluten development, resulting in a chewy yet tender bun. For the best results, ensure you measure the flour accurately to avoid a dry or overly dense dough.
– Sugar: Not only does sugar enhance the flavor of the dough, but it also acts as a food source for the yeast, activating it and helping the dough rise. The right amount of sugar will yield a lightly sweetened bun that perfectly complements the other flavors.
– Active Dry Yeast: This is the leavening agent that gives the buns their fluffy texture. It’s crucial to activate the yeast properly before adding it to the dough; this ensures that your buns will rise effectively.
– Milk and Apple Cider: Both of these liquids contribute moisture to the dough, which is essential for achieving a soft and tender crumb. The apple cider not only enhances the flavor profile but also adds a slight acidity that helps balance the sweetness.
– Butter and Eggs: These ingredients enrich the dough, adding flavor and contributing to a tender texture. Butter provides richness and a lovely aroma, while eggs help bind the ingredients together and contribute to the overall structure.
Filling Ingredients
The filling is where the magic happens, transforming simple dough into a decadent treat.
– Butter: Generously spreading softened butter over the dough creates a rich base for the filling. It helps the sugar and spices adhere to the surface, ensuring a flavorful bite in every piece.
– Brown Sugar: The deep molasses flavor of brown sugar adds a caramel-like sweetness that pairs beautifully with the other filling ingredients. It melts into the dough during baking, creating a sticky, gooey layer.
– Cinnamon: This classic spice is essential for adding warmth and depth to the filling. Its aromatic qualities enhance the overall flavor profile, evoking memories of cozy autumn afternoons.
– Apples: Fresh, diced apples are a key element in the filling, providing natural sweetness and a delightful texture contrast to the soft dough. When choosing apples, look for varieties that hold their shape when baked, such as Granny Smith or Honeycrisp, which offer a pleasing tartness that balances the sweetness of the sugar.
Glaze Ingredients
No sticky bun is complete without a drizzle of glaze, which not only adds sweetness but also enhances the visual appeal.
– Powdered Sugar: The base for the glaze, powdered sugar dissolves easily to create a smooth, pourable consistency. It provides the sweetness that ties the entire treat together.
– Milk: This liquid is used to achieve the desired glaze consistency. The amount can be adjusted based on how thick or thin you prefer the glaze.
– Vanilla Extract: A splash of vanilla adds an aromatic complexity to the glaze, making it more fragrant and flavorful.
– A Pinch of Salt: Balancing the sweetness with a touch of salt elevates the flavor profile and enhances the overall eating experience.
Step-by-Step Instructions for Preparation
Now that we’ve covered the ingredients, let’s dive into the step-by-step instructions for preparing these delightful Apple Cider Sticky Buns. This detailed breakdown will help both novice and experienced bakers navigate the process with ease.
Preparing the Dough
1. Activate the Yeast: Begin by combining warm milk (about 110°F) with the active dry yeast and a teaspoon of sugar in a small bowl. Stir gently and let the mixture sit for about 5-10 minutes, or until it becomes frothy. This indicates that the yeast is alive and ready to work its magic in your dough.
2. Mix Dry Ingredients: In a large mixing bowl, whisk together the all-purpose flour and remaining sugar. Creating a well in the center, pour in the frothy yeast mixture along with the apple cider, melted butter, and eggs.
3. Combine Wet and Dry Ingredients: Using a wooden spoon or spatula, mix the ingredients until a shaggy dough forms. The dough will be sticky at this point, but that’s part of the process.
4. Knead the Dough: Turn the dough out onto a lightly floured surface. Knead the dough for about 8-10 minutes until it becomes smooth and elastic. This step is crucial as it develops the gluten structure that will give your buns their texture.
5. First Rise: Lightly grease a large bowl and place the kneaded dough inside, turning it to coat with oil. Cover the bowl with plastic wrap or a clean kitchen towel and let it rise in a warm, draft-free area until it has doubled in size, usually about 1 to 1.5 hours.
Making the Filling
While the dough is rising, it’s the perfect time to prepare the filling.
1. Prepare the Apples: Peel and dice your chosen apples into small cubes. Toss them with a teaspoon of cinnamon and set aside. This will ensure the apples are evenly coated and flavorful.
2. Combine Filling Ingredients: In a small bowl, mix softened butter, brown sugar, and the remaining cinnamon until well combined. This mixture should be spreadable and will create a delicious layer of flavor in your buns.
As you wrap up the preparation of the filling and wait for the dough to rise, the anticipation of the delightful Apple Cider Sticky Buns will surely build. The next steps will guide you through shaping, filling, baking, and glazing, culminating in a treat that embodies the essence of fall. Stay tuned for the continuation of this recipe, where we’ll explore how to assemble and bake these sweet, sticky delights!
Simple Steps for Preparing the Filling
To create the perfect filling for your apple cider sticky buns, begin by gathering your ingredients: brown sugar, cinnamon, butter, and finely chopped apples. The apples can be peeled or unpeeled, depending on your preference, but make sure they are diced into small, even pieces to ensure uniform distribution throughout the buns.
1. In a medium bowl, combine 1 cup of packed brown sugar with 2 teaspoons of cinnamon. Mix thoroughly to ensure the spices are evenly distributed.
2. Melt 1/2 cup of unsalted butter in a small saucepan over low heat, then let it cool slightly.
3. Add the diced apples to the butter, tossing to coat them well, and then fold in the cinnamon-sugar mixture. The mixture should be sticky but not overly wet—this will help to prevent the dough from becoming soggy.
Rolling Out the Dough
Once your dough has risen and doubled in size, it’s time to roll it out. A well-prepared surface is key to achieving the right thickness for your buns.
1. Lightly flour your work surface to prevent sticking. You can also flour your rolling pin for added ease.
2. Gently punch down the dough to release air and shape it into a rectangle, about 1/2 inch thick. Aim for dimensions of approximately 18 by 12 inches.
3. As you roll the dough, apply even pressure to maintain a consistent thickness. This will ensure that your buns rise evenly during baking.
Forming the Buns
Now that your dough is rolled out, it’s time to form the buns. This is a critical step that affects both the appearance and the baking process.
1. Spread the apple filling mixture evenly over the dough, leaving a 1-inch border along the edges.
2. Starting from one long edge, carefully roll the dough into a tight cylinder. Use your hands to keep the filling from spilling out while rolling.
3. Once rolled, cut the cylinder into 12 equal pieces, about 1.5 inches thick. A sharp knife or unflavored dental floss works great for cutting without squishing the dough.
4. Arrange the buns in a greased 9×13 inch baking pan, ensuring they are spaced evenly apart. This spacing is crucial as it allows the buns to rise properly and expand during baking.
Letting the Buns Rise Again
After forming the buns, they need to rise one more time before baking. This second rise is essential for achieving the light, fluffy texture that everyone loves.
1. Cover the baking pan with a clean kitchen towel and place it in a warm, draft-free area. Let the buns rise for about 30 minutes, or until they have puffed up and nearly doubled in size.
2. The dough should feel soft and airy when pressed gently. This rise allows the yeast to continue working, creating those delightful air pockets that result in a tender bun.
Preparing the Glaze
While the buns are rising, it’s the perfect time to prepare the glaze that will coat your sticky buns, adding a rich sweetness.
1. In a small saucepan, combine 1/2 cup of unsalted butter, 1 cup of brown sugar, and 1/4 cup of apple cider. Stir over medium heat until the mixture comes to a simmer.
2. Once the glaze is simmering, cook for an additional 2-3 minutes until it thickens slightly. Remove from heat and allow it to cool. The glaze should be pourable yet thick enough to coat the buns without dripping off too quickly.
Baking the Sticky Buns
With the buns risen and the glaze ready, it’s time to bring everything together in the oven.
1. Preheat your oven to 350°F (175°C). A properly preheated oven ensures even cooking and helps the buns rise beautifully.
2. Bake the sticky buns for 25-30 minutes, or until they are golden brown on top. Keep an eye on them during the last few minutes to prevent over-browning.
3. A toothpick inserted into the center of one of the buns should come out clean or with only a few crumbs attached, indicating they are fully baked.
Cooling and Serving
After baking, patience is key. Allow the sticky buns to cool in the pan for about 10 minutes.
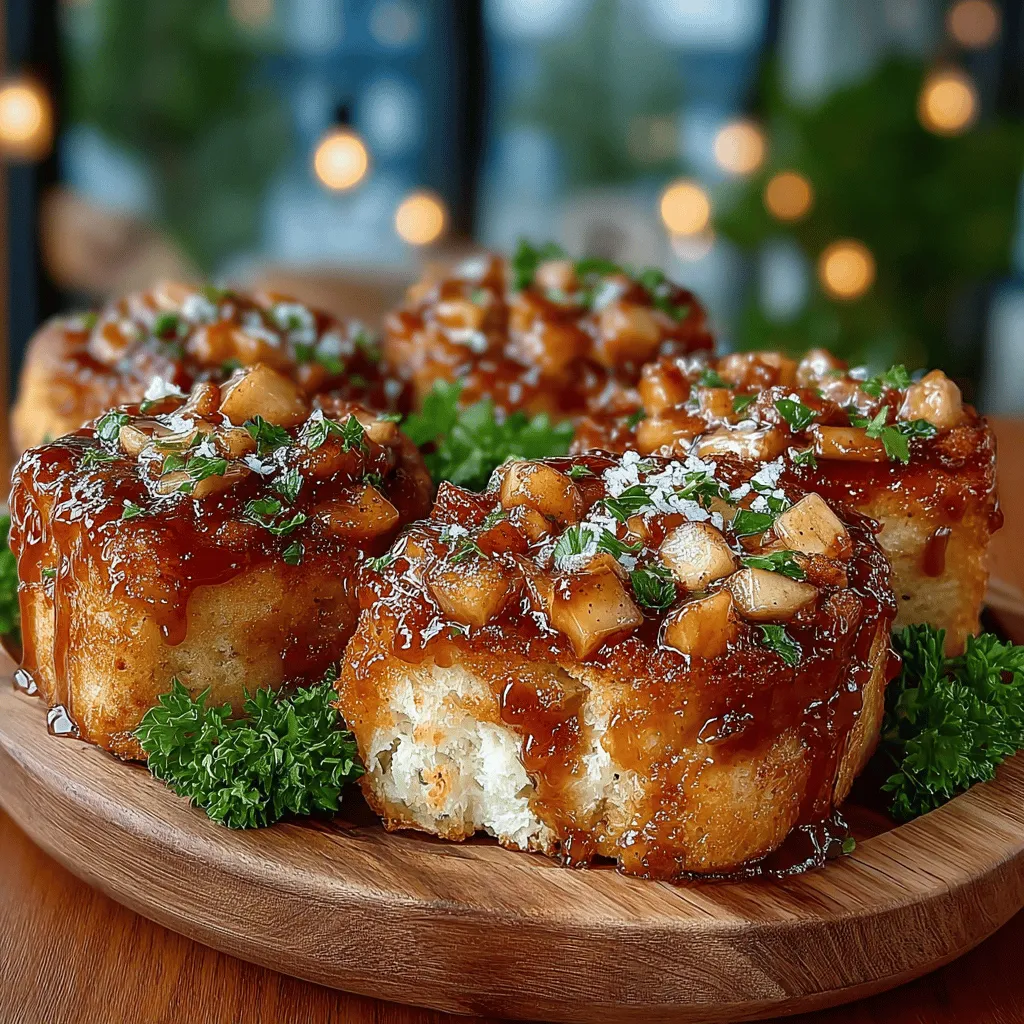
1. To serve, place a large serving plate upside down over the baking pan and carefully invert the pan. The buns should slide out, revealing the gooey glaze atop them.
2. It’s best to serve the sticky buns warm, as they are at their most delicious right out of the oven. For an added touch, drizzle with any leftover glaze.
Flavor Profile and Texture Analysis
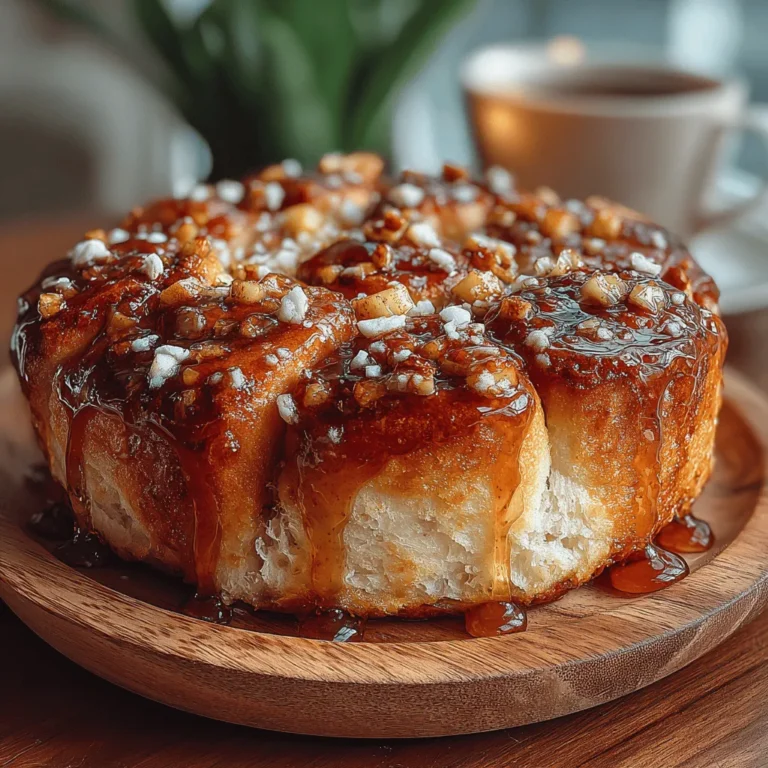
The flavor profile of apple cider sticky buns is a delightful blend of sweet and spiced notes. The apple cider infuses the dough with a subtle sweetness while enhancing the flavor of the apples in the filling. The cinnamon and brown sugar create a warm, comforting taste that evokes the essence of fall.
Texturally, the sticky buns offer a contrast that is nothing short of heavenly. The dough, once baked, is soft and fluffy, while the glaze provides a sticky, caramelized layer on top. Each bite delivers a satisfying mix of tender bread and rich, gooey sweetness, making them irresistible.
Pairing Suggestions
To enhance your apple cider sticky buns experience, consider pairing them with beverages and sides that complement their flavors:
– Beverages: A warm cup of apple cider or freshly brewed coffee works beautifully with these sticky buns. For tea lovers, a spiced chai or even a light herbal tea can provide a lovely contrast.
– Sides: Consider serving your sticky buns alongside a fresh fruit salad or a light yogurt parfait for a balanced brunch spread. The freshness of the fruit can cut through the sweetness of the buns, creating a delightful contrast.
Storage and Reheating Instructions
If you happen to have leftovers, proper storage will help maintain the freshness of your sticky buns:
1. Allow the buns to cool completely before transferring them to an airtight container. Alternatively, you can wrap them tightly in plastic wrap.
2. Store them in the refrigerator for up to five days. For longer storage, consider freezing them. Place the buns in a freezer-safe container or bag, where they can keep for up to three months.
When it’s time to enjoy them again, reheating is simple:
1. For best results, preheat your oven to 350°F (175°C) and bake the buns for about 10-15 minutes until warmed through.
2. If you prefer a quicker method, use the microwave for 15-20 seconds, but be cautious of overcooking, as this can dry them out.
Conclusion
Making apple cider sticky buns is not just about baking; it’s about embracing the warmth and comfort they bring. With their sweet and spiced flavors combined with the soft, fluffy texture, these buns are sure to become a cherished family recipe.
Encourage your loved ones to join in the baking process—there’s something special about creating delicious memories together in the kitchen. Whether enjoyed on a cozy weekend morning or as a delightful treat for guests, these sticky buns are bound to bring joy and comfort to your table. So gather your ingredients, follow the steps, and dive into the delightful world of baking these irresistible apple cider sticky buns.